Google Analytics provides insight on your website’s traffic and marketing data effectiveness. This allows you to better target your audience and tailor posts and content to their needs.
Note: To setup your analytics settings, you will need to sign up for a Google Analytics account here.
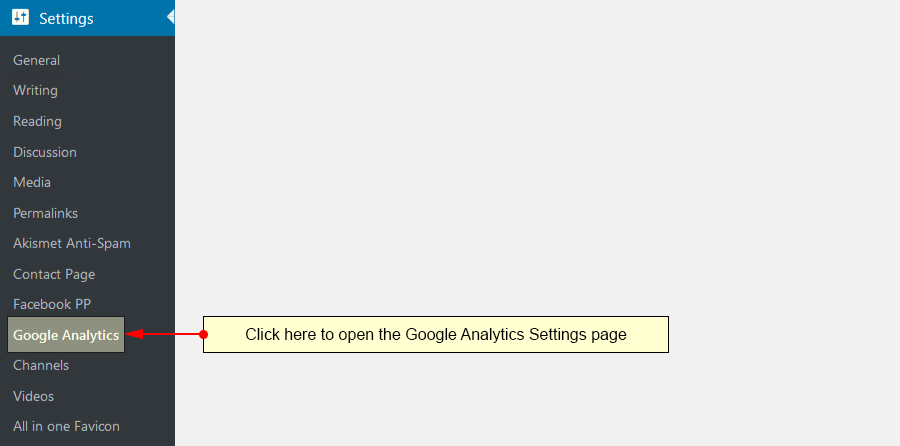
Click the Google Analytics link under the Settings sections:
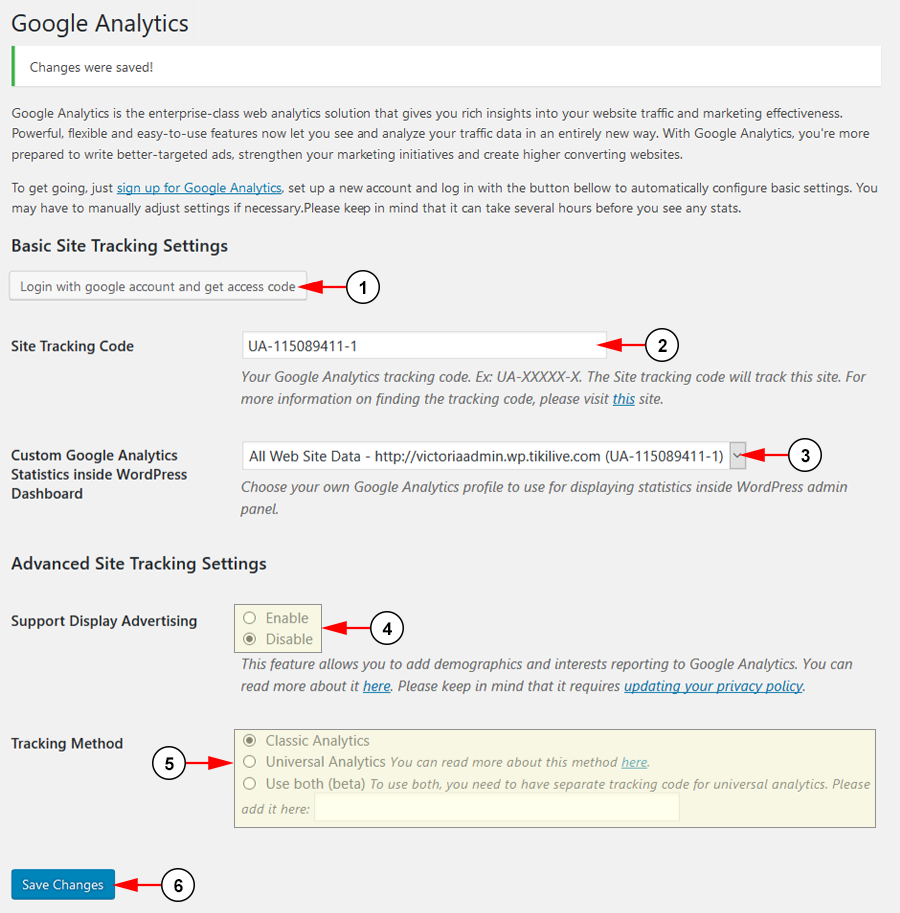
On this page you can setup your analytic settings and tracking statistics:
1. Click the button here to login with your Google account.
2. Enter your site tracking code here.
3. Select from the drop down list the profile you wish to use for your site.
4. Select a radio button to either enable or disable demographics and interest reporting for Google.
5. Select a radio button here to use either classic analytics, universal analytics, or both.
6. Click here to save your settings.
Once you click the login button, you will be prompted to log into your Google Account to get your access code:
1. Click here to open a new window and log into your Google Account.
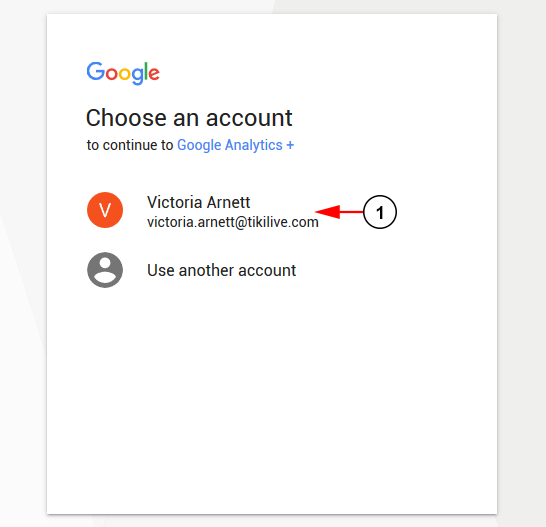
Choose your email and login when prompted:
1. Choose your account and login with your email and password.
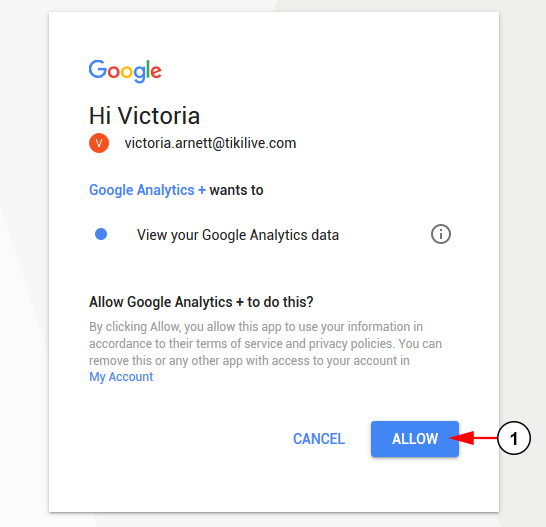
Allow Google to access your analytics data:
1. Click the allow button to access your analytics data.
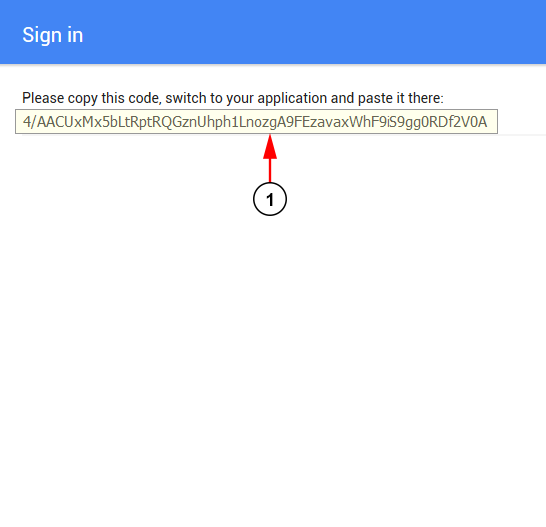
This is your access code that is needed to enable your analytics settings:
1. Copy this code to be used in the next step.
This is your access code that is needed to enable your analytics settings:
1. Paste the code from the previous step.
2. Click the button here to save your settings.

