Important: Starting with TikiLIVE V7.0 we support direct upload only for MP4 files, the FLV and F4V files needs to be encoded prior to publish them on the platform.
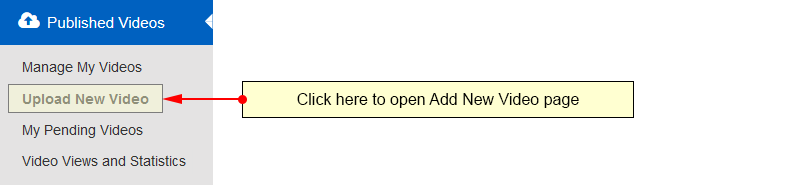
Logged in your user account, click on Add Video from Upload Video section if you want to upload videos:
You can directly upload a video or you can use the encoding settings for HTML5:
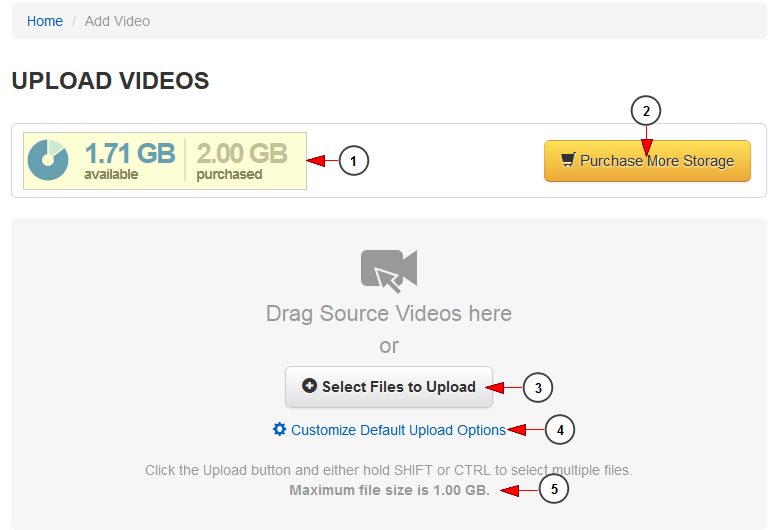
1. Here you can see details regarding the available storage for your account subscription.
2. Click here if you want to buy more storage.
3. Click here to select the video files you want to upload. A new window will open and you can select one or multiple files to upload:
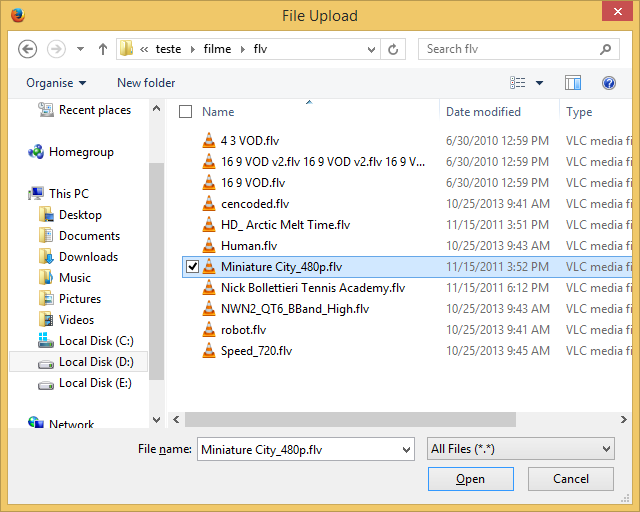
Note: you can select multiple files to upload them by holding Shift and Ctrl keys. Please check the note regarding the maximum file size.
4. Click here to customize the default upload options for all files you plan to upload during the current session.
5. Here you can view the maximum size of a video file that you can upload.
After you select the video file you want to upload you can also customize the video details before uploading the file:
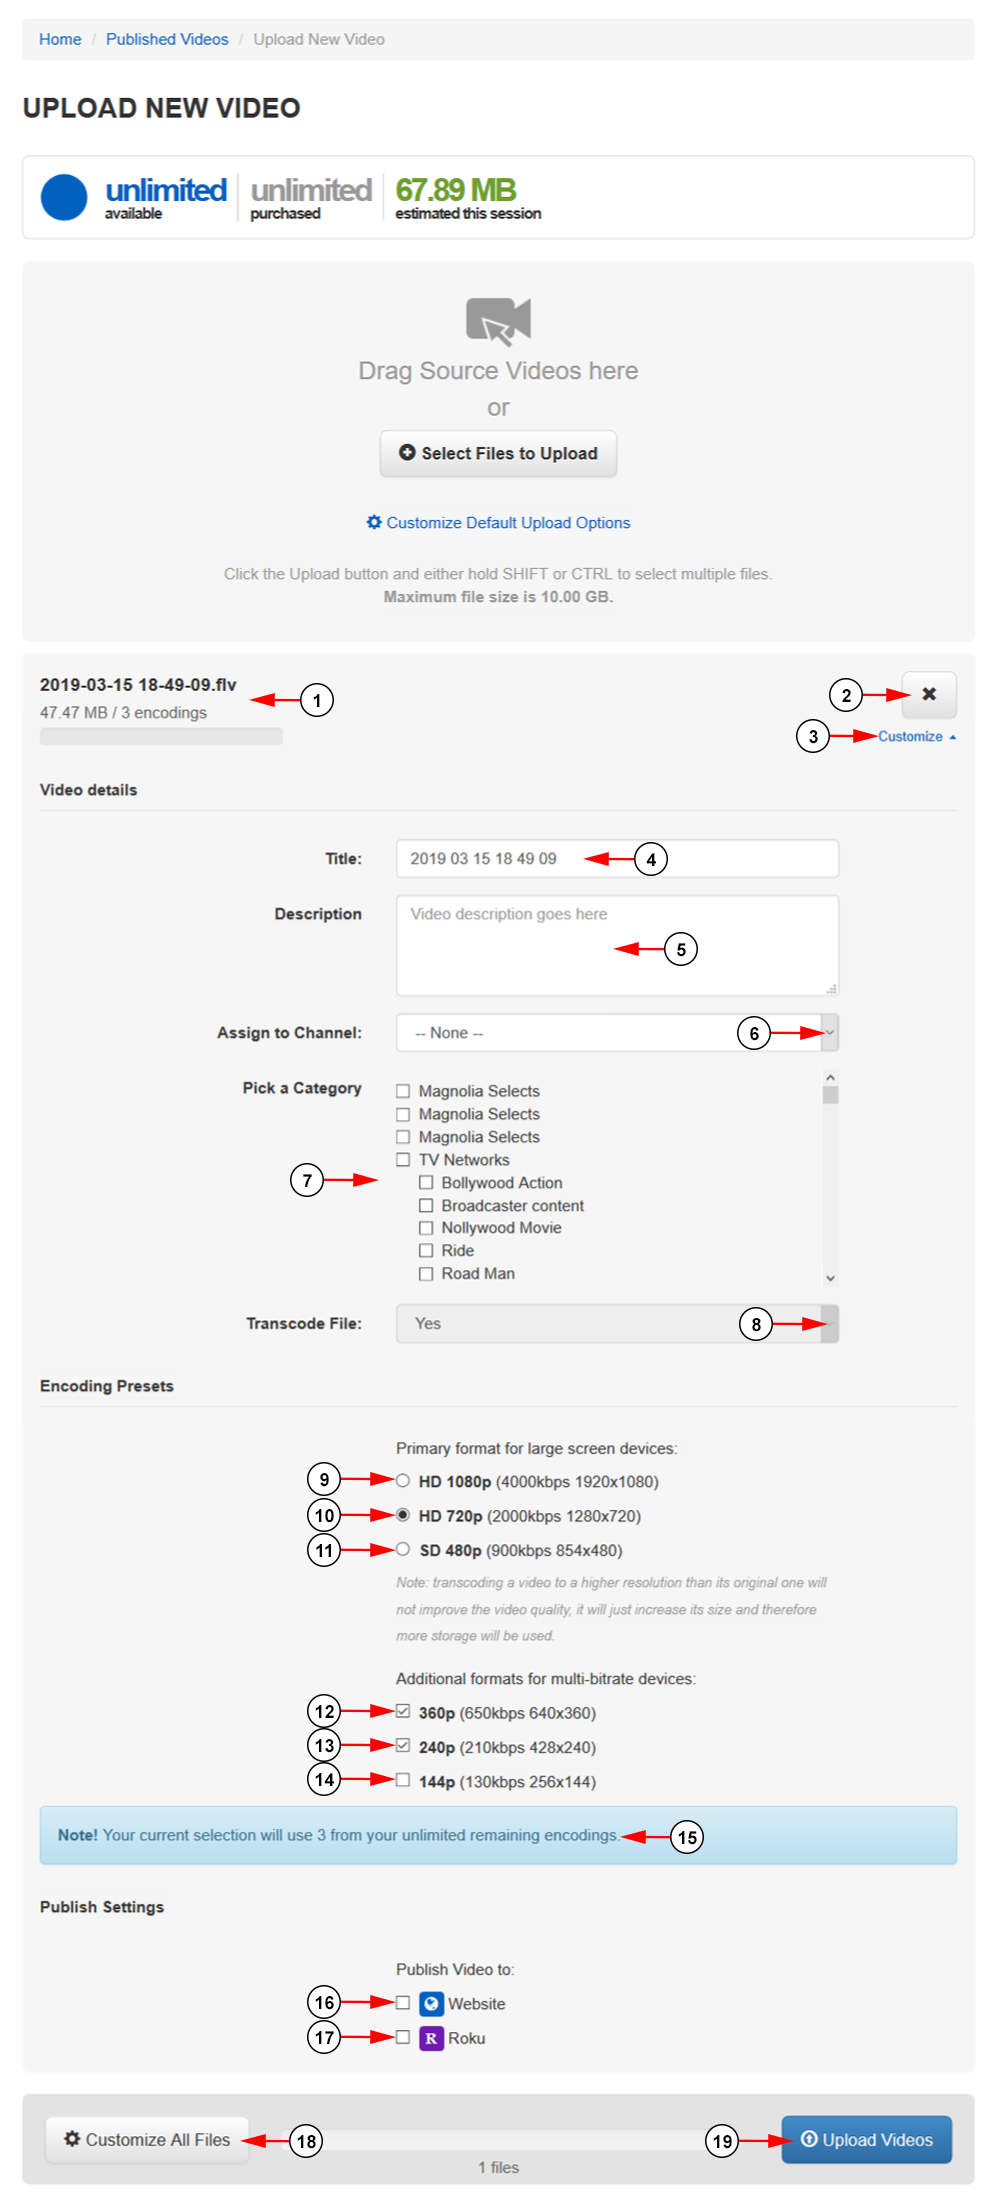
1. Here you can see the video title, size and the current uploading settings.
2. Click here to remove the video file from the queue.
3. Click here to show or hide the customization section.
4. In this field you can edit the title of the video.
Note: First and last characters, if alphanumeric, will be removed from video text title.
5. Here you can insert a short description of the video.
6. Click here to select one of your channels in order to attach the video to it.
7. Click here to select a category to which you want to attach the video.
8. Click here to select if you want to encode the file.
Note: You can customize the encoding settings before adding the videos on the queue, customize encoding settings for multiple files or you can simply upload the video and encode it afterwards.
If your video is not an mp4 file, then you will be required to encode your video to upload it and the drop-down menu will be disabled.
9. Click the radio button here to set your primary encoding format to 1080p.
10. Click the radio button here to set your primary encoding format to 720p.
11. Click the radio button here to set your primary encoding format to 480p.
12. Check the box here to publish your video to 360p in addition to your primary encoding format.
13. Check the box here to publish your video to 240p in addition to your primary encoding format.
14. Check the box here to publish your video to 144p in addition to your primary encoding format.
15. Here you can see how many encodes this file will use out of the remaining amount you have purchased.
16. Check this box to publish the video on the website.
17. Check this box to publish the video on Roku.
18. Click here to customize all files from the uploading queue.
19. Click here to upload videos.
Below you can see a training video on how to upload a video: