Important: Starting with TikiLIVE V7.0 we support direct upload only for MP4 files, the FLV and F4V files (autorecorded files) needs to be encoded prior to publish them on the platform.
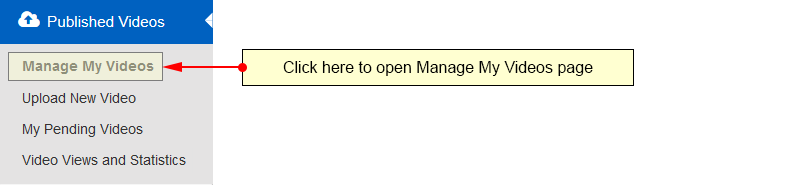
You can edit the details of the videos from your library any time. You can do that from your user account by going to the Manage My Videos page under the Published Videos chapter:
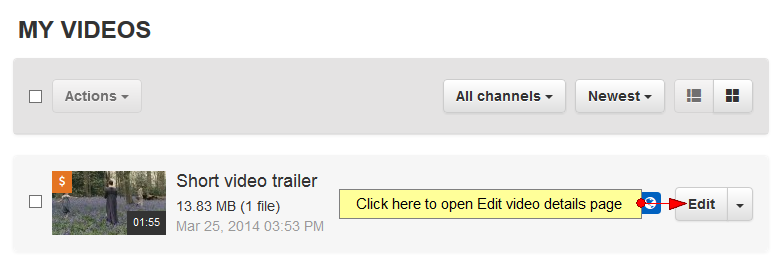
Select the video you want to edit and click on Edit button:
In Video details page you can edit the title, description, thumbnail, channel and category of the selected video:
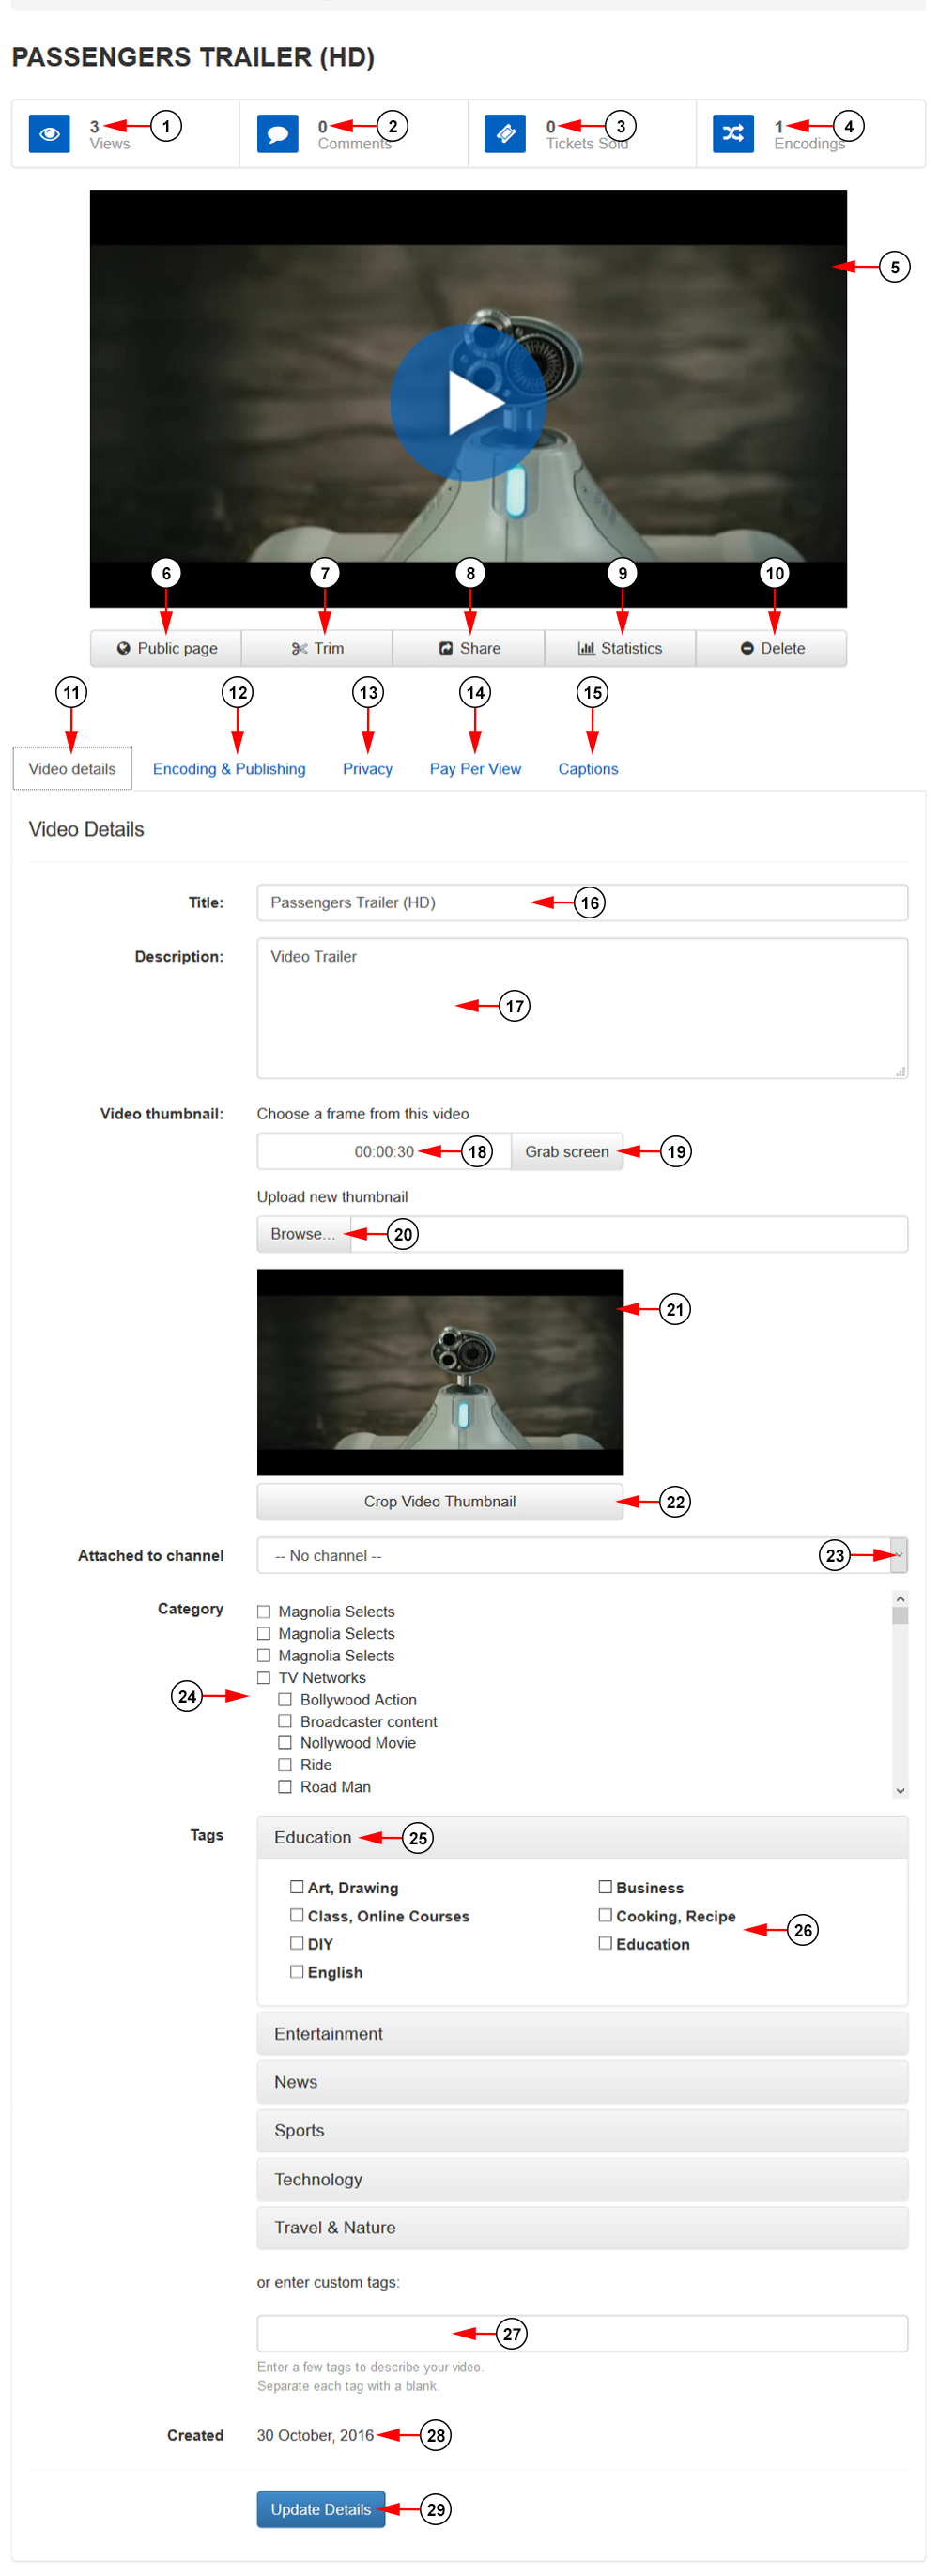
1. Here you can see the number of views of the video.
2. Here you can see the number of comments on the video.
3. Here you can see the number of tickets sold for this video.
4. Here you can see the number of encoded files the video has.
5. Here you can see a preview of the video player.
6. Click here to access the video public page.
7. Click here to trim the video. An overlay window will be displayed and you can crop the video.
8. Click here to view the video URL in order to share it. A new overlay window will open displaying the video URL.
9. Click here to view the video statistics. You will be redirected to Statistics page.
10. Click here to delete the video.
Important: We recommend to avoid deleting the videos that are in a playlist, as this may lead on playback issues on the playlist and the channels to which the playlist is assigned.
11. Click here to view and edit the video details.
12. Click here to manage the encoding and publishing details of the video.
13. Click here to manage the privacy settings for the video.
14. Click here to manage the PPV settings for the video.
15. Click here to manage the captions settings for the video.
16. Here you can view and edit the video title.
17. In this field you can insert a description for the video.
18. Insert here the exact video frame you want to set as video thumbnail.
19. Click here to grab the screen of the video frame set on point 18.
20. Click here to browse an image in your computer in order to select it as video thumbnail.
21. Here you can see the current video thumbnail.
22. Click here to crop the video thumbnail.
23. Click here to select a channel to which you want to attach the video.
24. From here you can select the category to which you want to attach the video (you can select multiple categories).
25. Here you can see the tag categories to choose from.
26. Clock the box for the tags you would like to select for your video.
27. In this field you can insert custom tags to describe the video.
28. Here you can see the date when the video was added on the platform.
29. Click here to save the video details.
Share video
When you click on Share button an overlay window will open, and you can see the URL of the video:
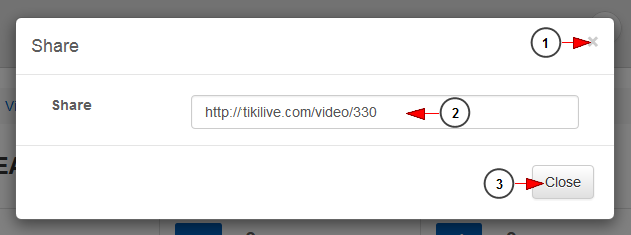
1. Click here to close the overlay window.
2. Here you can see the URL of the video. You can copy it.
3. Click here to close the overlay window.
Crop video thumbnail
When you click on Crop video thumbnail button a new window will open in your default browser and you can select the desired image you want as thumbnail for the video:
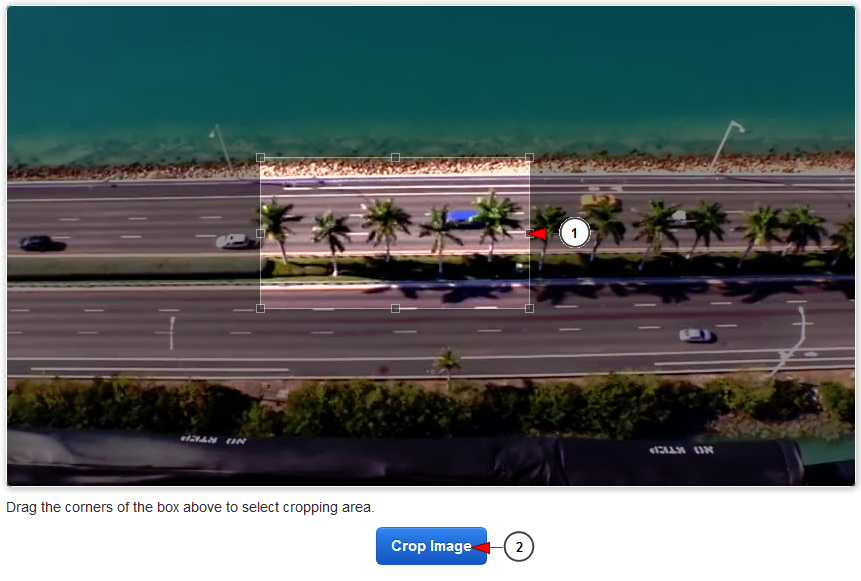
1. Drag the corners of the box to select the area you want to crop.
2. Click here to crop the image.